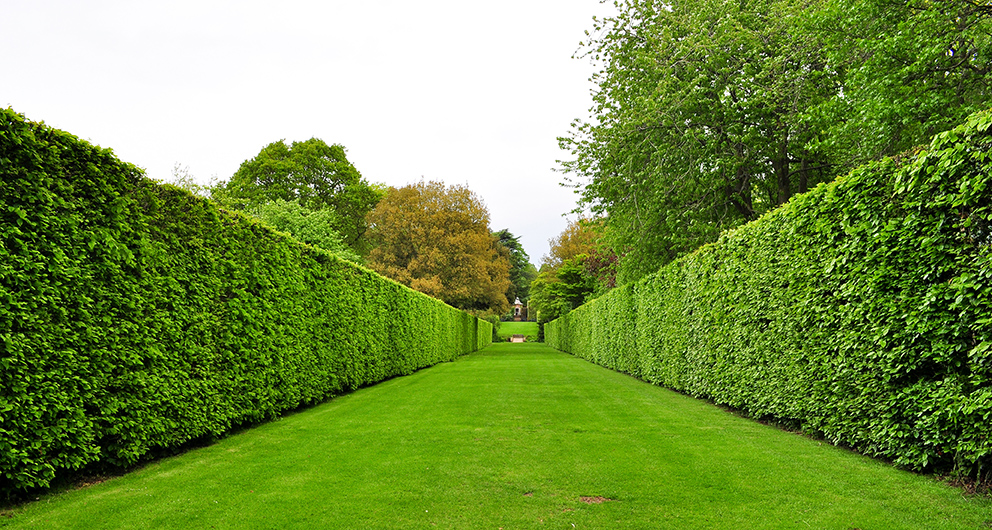
Planting a cedar hedge in Ottawa involves careful planning and execution to ensure the hedge thrives in the local climate. Cedar hedges are popular for their dense foliage, which provides privacy and year-round greenery. Here’s a step-by-step guide to planting a cedar hedge in Ottawa:
Selecting the Right Cedar
- Species Selection: Common choices for cedar hedges include Eastern White Cedar (Thuja occidentalis) and Emerald Green Arborvitae (Thuja occidentalis ‘Smaragd’). Both are hardy and well-suited to Ottawa’s climate.
- Nursery Stock: Purchase healthy, well-rooted plants from a reputable nursery. Look for vibrant green foliage and avoid plants with brown or yellowing leaves.
Planning and Preparation
- Location: Choose a site with well-draining soil and full sun to partial shade. Cedars require at least six hours of sunlight per day to thrive.
- Spacing: Plan the spacing of your cedars. Typically, cedars should be planted 18 to 24 inches apart for a dense hedge.
- Soil Preparation: Test the soil pH (cedars prefer a pH of 6.0 to 7.5) and amend if necessary. Incorporate compost or well-rotted manure to improve soil fertility and drainage.
Planting Process
- Digging Holes: Dig holes that are twice the width of the root ball and just as deep. This gives the roots room to spread out and establish themselves.
- Soil Mix: Mix the excavated soil with compost or peat moss to create a nutrient-rich backfill for the holes.
- Planting Depth: Place each cedar in the hole so that the top of the root ball is level with the ground. Planting too deep can suffocate the roots.
Planting Steps
- Remove from Container: Gently remove the cedar from its container. If the roots are tightly bound, tease them apart to encourage outward growth.
- Positioning: Position the cedar in the hole and fill halfway with the soil mix. Water thoroughly to eliminate air pockets, then fill the rest of the hole.
- Final Touch: Water again after filling to ensure good soil contact with the roots. Mulch around the base with organic mulch, keeping it a few inches away from the trunk to prevent rot.
Post-Planting Care
- Watering: Keep the soil consistently moist but not waterlogged. Water deeply once a week, more frequently during hot, dry periods.
- Mulching: Maintain a 2-3 inch layer of mulch to conserve moisture, regulate soil temperature, and reduce weeds.
- Fertilizing: Fertilize in early spring with a balanced, slow-release fertilizer formulated for evergreens. Follow package instructions for application rates.
Long-Term Maintenance
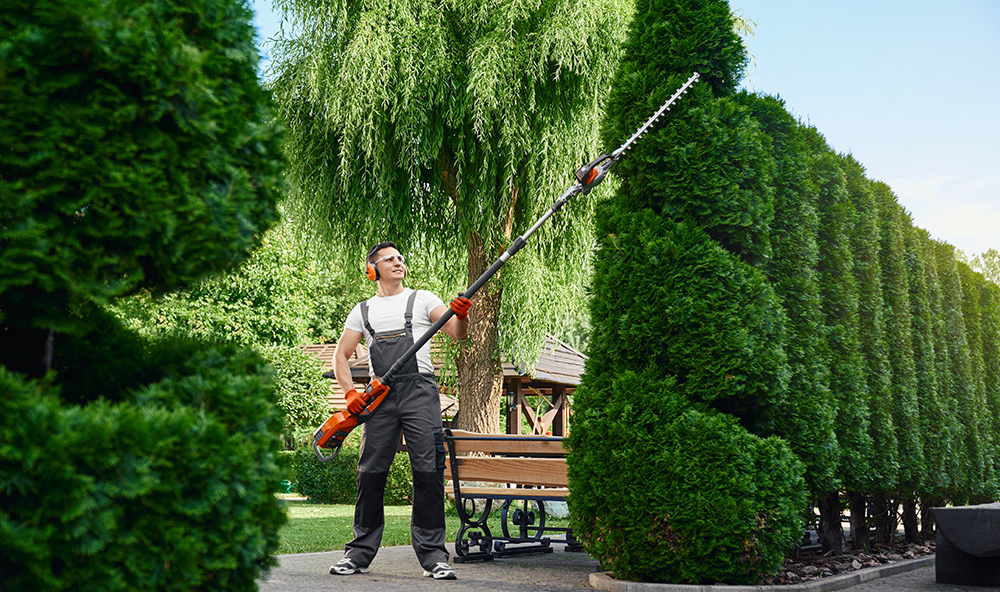
- Pruning: Lightly prune the tips of the branches in late spring or early summer to encourage dense growth. Avoid heavy pruning, especially during the first few years.
- Pest and Disease Control: Monitor for common pests like spider mites and diseases such as root rot. Treat issues promptly with appropriate organic or chemical controls.
- Winter Protection: In the first few winters, protect young cedars from heavy snow and ice by gently tying the branches with soft twine or burlap.
Conclusion
Planting a cedar hedge in Ottawa requires careful planning, proper planting techniques, and ongoing maintenance to ensure healthy growth and longevity. By selecting the right species, preparing the soil, and providing consistent care, you can establish a beautiful and functional cedar hedge that enhances your landscape for years to come.